How to Install WordPress on Hostinger Step by Step 2025
Are you ready to take the leap into the world of website building? Installing WordPress on Hostinger is one of the most straightforward and efficient ways to get your online presence up and running. In this comprehensive guide, I’ll walk you through the entire process, sharing my personal experiences and offering actionable tips to ensure your installation goes smoothly.
My Journey into Website Building
Like many of you, I was once a complete novice when it came to building websites. The idea of coding and web development seemed daunting, but the desire to share my ideas and connect with a global audience was too strong to ignore. After much research, I decided to start with WordPress, a powerful and user-friendly content management system (CMS) that powers over 40% of the internet.
Choosing the right hosting provider was equally important. After comparing several options, I settled on Hostinger. Known for its affordability, reliability, and user-friendly interface, Hostinger offered everything I needed to get started. Plus, their one-click WordPress installation process made it incredibly easy for beginners like me.
Why Choose WordPress and Hostinger?
WordPress: The Powerhouse of Web Development
WordPress is a robust platform that offers a wide range of features and flexibility. Whether you’re building a simple blog, an e-commerce store, or a complex website, WordPress has the tools and plugins to meet your needs. Some key benefits include:
- Customizable Themes: Choose from thousands of free and premium themes to give your website a unique look and feel.
- Extensive Plugin Library: Enhance your website’s functionality with over 55,000 plugins, from SEO optimization to security and more.
- SEO-Friendly: WordPress is designed to be search engine friendly, helping you rank higher in search results.
- Community Support: A large and active community of users and developers ensures you always have access to help and resources.
Hostinger: The Perfect Hosting Partner
Hostinger is an excellent choice for hosting your WordPress site. Here’s why:
- Affordable Pricing: Hostinger offers competitive pricing plans that are budget-friendly without compromising on quality.
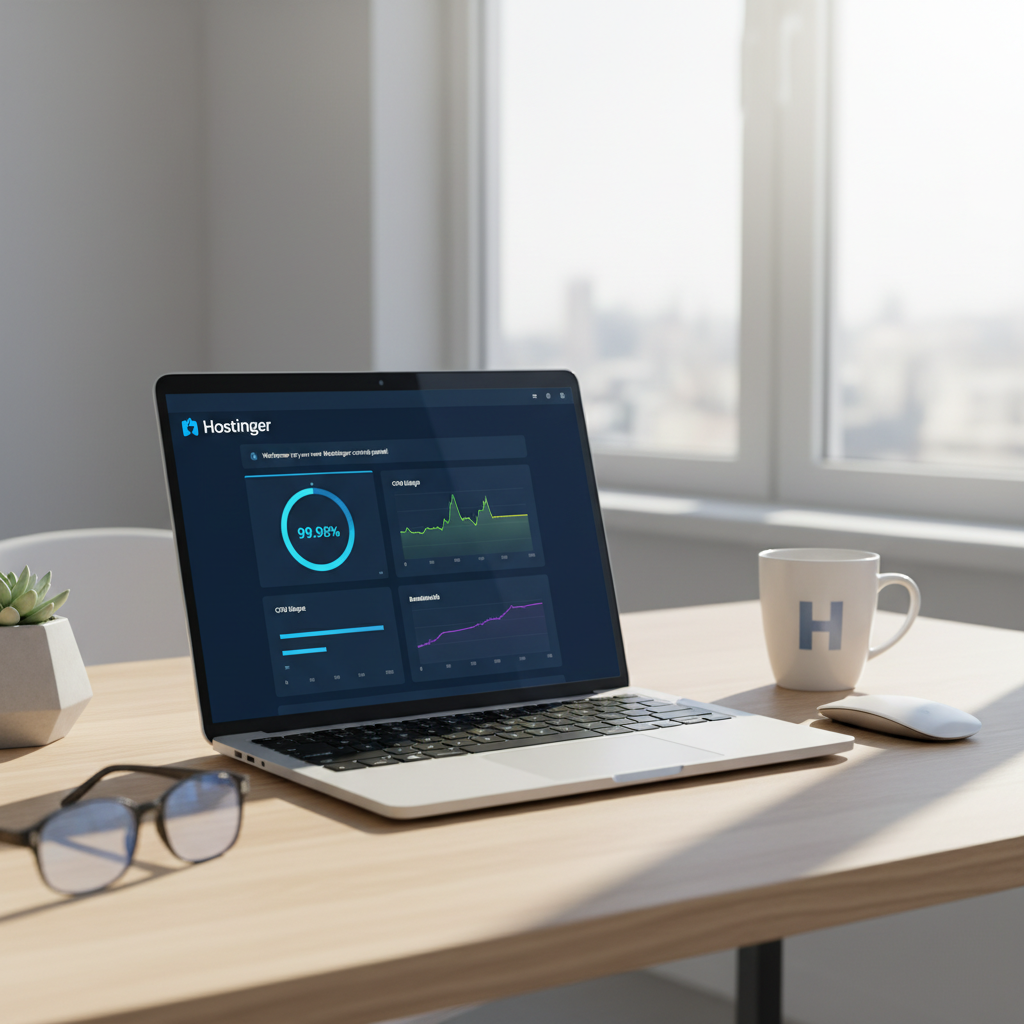
- High Performance: Their servers are optimized for speed and reliability, ensuring your website loads quickly and stays up.
- One-Click Installation: Installing WordPress on Hostinger is a breeze with their automated setup process.
- 24/7 Support: Get help whenever you need it with their round-the-clock customer support team.
Step-by-Step Guide to Installing WordPress on Hostinger
Step 1: Sign Up for Hostinger
Before you can install WordPress, you need to sign up for a hosting plan with Hostinger. Here’s how:
- Visit the Hostinger.com/”>Hostinger website and click on the “Get Started” button.
- Choose a hosting plan that suits your needs. For most beginners, the Shared Hosting plan is a great starting point.
- Follow the prompts to create an account, enter your payment details, and complete the signup process.
Once you’ve signed up, you’ll be directed to the Hostinger Control Panel, where you can manage all aspects of your hosting account.
Step 2: Access the Hostinger Control Panel
After signing up, log in to your Hostinger account and navigate to the Control Panel. This is where you’ll find all the tools and options you need to manage your website.
- Log in to your Hostinger account using the credentials you created during signup.
- Click on the “Control Panel” option to access the main dashboard.
The Control Panel is organized into sections, making it easy to find what you need. Look for the “Website” section, which is where you’ll find the WordPress installation options.
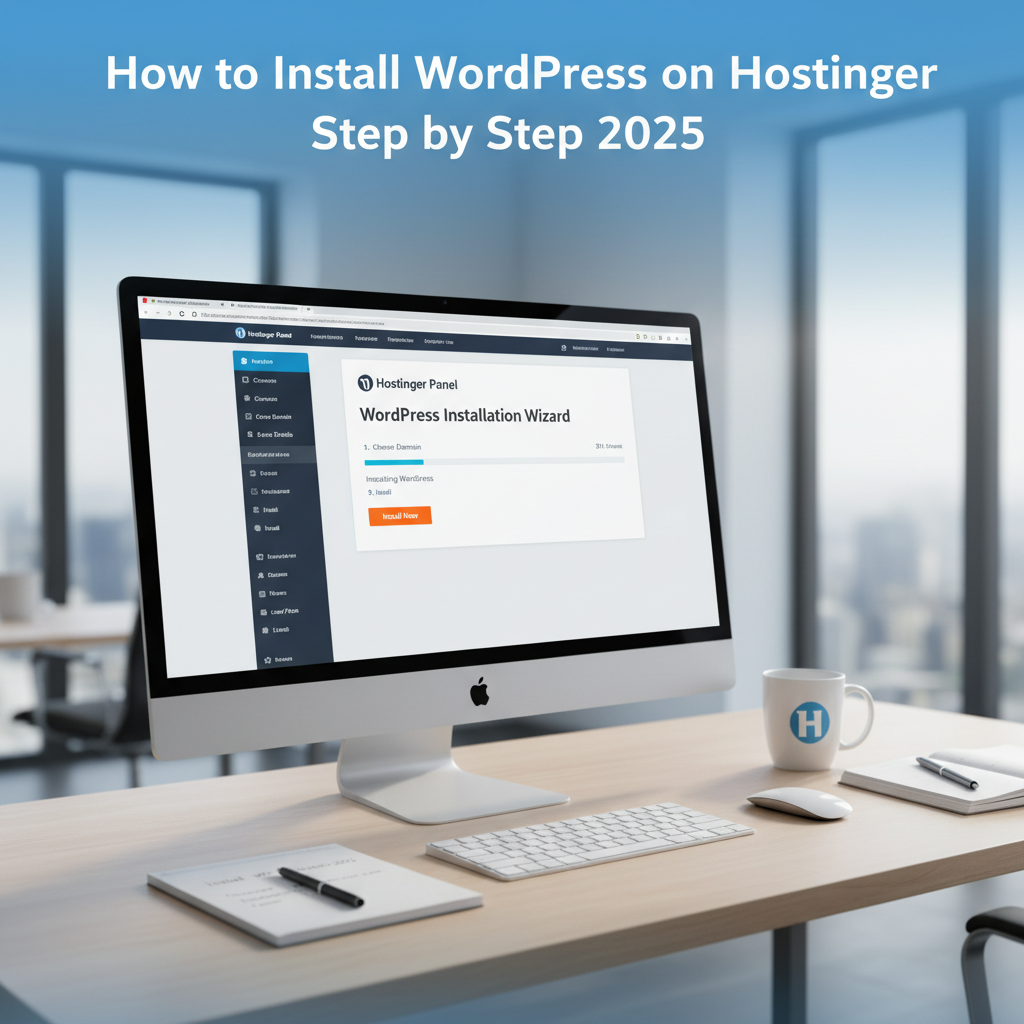
Step 3: Install WordPress Using One-Click Installer
Hostinger’s one-click installer makes it incredibly easy to set up your WordPress site. Follow these steps:
- In the Control Panel, scroll down to the “Website” section and click on “Install WordPress.”
- Choose the domain where you want to install WordPress. If you haven’t set up a domain yet, you can do so from the Control Panel.
- Select the preferred language for your WordPress site.
- Fill in the required information, including the site title, username, and password. Make sure to choose a strong password for security.
- Click the “Install Now” button to start the installation process.
The installation will typically take just a few minutes. Once it’s complete, you’ll receive a confirmation message and a link to access your new WordPress site.
Step 4: Access Your WordPress Dashboard
Now that WordPress is installed, it’s time to start customizing your site. Here’s how to access the WordPress Dashboard:
- Go to your website’s domain and add “/wp-admin” to the end of the URL (e.g., https://yourdomain.com/wp-admin).
- Log in using the username and password you created during the installation process.
The WordPress Dashboard is your control center for managing your site. From here, you can create and edit content, manage themes and plugins, and configure settings.
Step 5: Customize Your Site
With WordPress installed, the next step is to make your site your own. Here are some key customization steps:
- Choose a Theme: Navigate to “Appearance” > “Themes” and browse through the available options. You can also install new themes from the WordPress Theme Directory.
- Install Plugins: Go to “Plugins” > “Add New” to find and install plugins that enhance your site’s functionality. Some essential plugins include Yoast SEO, Jetpack, and WPForms.
- Set Up Pages and Posts: Use the “Pages” and “Posts” sections to create and manage your site’s content. Add text, images, and multimedia to make your site engaging.
- Configure Settings: Access the “Settings” menu to configure various aspects of your site, such as general information, reading settings, and permalinks.
Take your time to explore the WordPress Dashboard and get familiar with its features. The more you use it, the more comfortable you’ll become.
Practical Tips and Recommendations
1. Choose a Strong Password
Security is crucial for any website. When setting up your WordPress site, make sure to choose a strong, unique password. Use a combination of letters, numbers, and symbols to make it harder for hackers to guess.
2. Regularly Update WordPress and Plugins
Keeping your WordPress installation and plugins up to date is essential for maintaining security and performance. WordPress frequently releases updates to fix bugs and improve functionality. Set up automatic updates or make it a habit to check for updates regularly.
3. Use SEO-Friendly Themes and Plugins
Optimizing your site for search engines can help you attract more visitors. Choose themes and plugins that are SEO-friendly, such as those that support schema markup and offer built-in SEO settings. Yoast SEO is a popular plugin that can help you optimize your content for search engines.
4. Back Up Your Site Regularly
Backing up your site is crucial to prevent data loss in case of an error or security breach. Hostinger offers automatic backups as part of their hosting plans, but you can also use plugins like UpdraftPlus or BackupBuddy to create manual backups.
5. Monitor Your Site’s Performance
Use tools like Google Analytics to monitor your site’s traffic and performance. This data can help you understand how visitors interact with your site and identify areas for improvement. Consider using a performance optimization plugin like WP Super Cache to speed up your site.
Conclusion
Installing WordPress on Hostinger is a straightforward process that opens up a world of possibilities for your online presence. By following the steps outlined in this guide, you can have your site up and running in no time. Remember, building a successful website is a journey, not a destination. Take it one step at a time, and don’t hesitate to reach out for help when you need it.
If you have any questions or need further assistance, feel free to leave a comment below. I’m here to help you every step of the way. Happy building!
“`